This Custom Keyboard Build Tutorial is a fast way for beginners to turn “I like keyboards” into “I built one that feels right.” At GATERON, we work with switch materials, tolerances, and factory processes every day, so we see what actually changes the typing experience—and what is just noise. This Custom Keyboard Build Tutorial 101 explains the tools you need, the parts that matter most, and the build order that keeps mistakes low and results consistent.
1) What a Custom Keyboard Build Tutorial Really Teaches (And Why Order Matters)
A good Custom Keyboard Build Tutorial is not only about assembling parts. It teaches you cause and effect. When you change a stabilizer, you change rattle. When you change a plate material, you change stiffness and pitch. When you change a switch type, you change force curve, sound profile, and return feel.
Build order matters because it reduces rework. Many first-time builders install everything first, then try to fix noise. That usually leads to repeated disassembly, scratched plates, bent pins, and wasted time. A better workflow is: plan the parts → test-fit → tune the components that create noise → then finalize assembly.
For beginners, the simplest mindset is this: control variables first, then build confidence. Once you understand the base build, you can start experimenting.
2) Tools You Actually Need (And What Each One Prevents)
You do not need a full workshop. But you do need the right few tools, because each one prevents a specific beginner mistake in a Custom Keyboard Build Tutorial.
✓ Switch puller + keycap puller: reduces damage when you remove parts for tuning
✓ Small screwdriver set: helps you avoid stripped screws and uneven mounting pressure
✓ Tweezers: makes stabilizer wires and small screws easier to handle
✓ Flush cutters (optional): useful for mods and trimming small materials
✓ Soldering iron (only if your PCB is soldered): most beginners prefer hot-swap to start
One practical tip: keep a small tray or magnetic mat for screws. Losing one screw can create uneven compression, which later sounds like “mystery rattle.”
3) Parts Breakdown: What Matters Most for Feel and Sound
In every Custom Keyboard Build Tutorial, you will see long parts lists. To keep it beginner-friendly, we group parts by impact.
High impact (choose carefully):
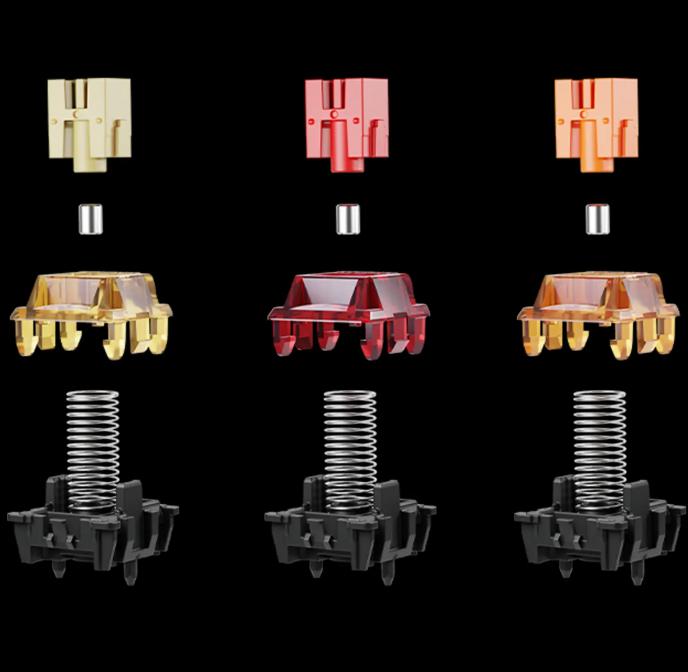
- Switches: define most of the feel and much of the sound
- Stabilizers: define how clean your spacebar, enter, and shift keys sound
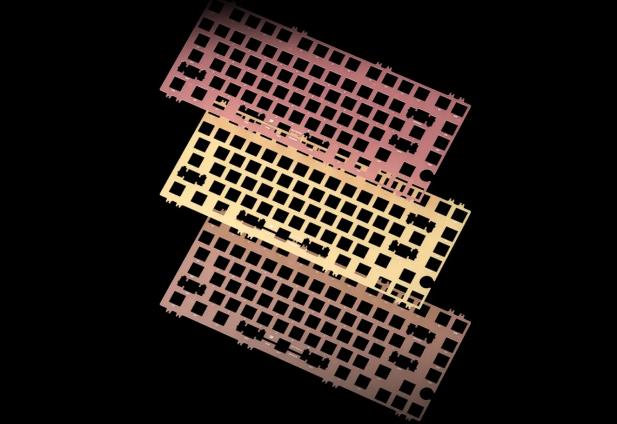
- Plate + mounting style: defines stiffness, flex, and overall pitch
Medium impact (important, but easier to adjust later):
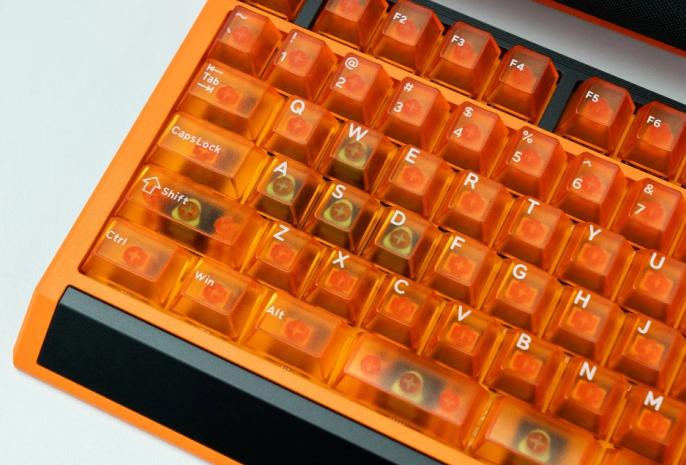
- Keycaps: change sound character and comfort
- Foams and dampening: reduce hollowness, change resonance
Foundation (do not overthink at first):
- Case and PCB: reliability and layout; start with a stable, popular option
From a manufacturer perspective, switches are the most misunderstood. Beginners often chase “the loudest” or “the quietest” without understanding why. In reality, sound is a system: switch + plate + case volume + keycap thickness + stabilizer tuning all interact.
At GATERON, we focus on consistency because it makes learning easier. When a switch is consistent, you can actually hear what your other changes did.
4) Switch Basics From GATERON: Selecting Your First Set With Confidence
A Custom Keyboard Build Tutorial should help you pick a first switch without stress. Here is a clean way to decide.
Start with the feel you want:
- Linear: smooth travel, clean sound, easy for long typing sessions
- Tactile: a clear bump, helpful if you want feedback while typing
- Clicky: louder by design; great for some, distracting for others
Then check practical build factors:
✓ Compatibility: confirm 3-pin or 5-pin support on your PCB
✓ Spring weight: lighter can feel faster; heavier can feel more controlled
✓ Factory consistency: stable tolerances make tuning results predictable
A small piece of real-world industry context: in modern switch production, consistency is not only about materials. It is also about mold precision, stem smoothness, and quality checks. That is why two switches can look similar but feel different in a full board.
If you are building your first board and want a “safe start,” choose a switch style that is widely used and easy to tune. After you complete one build, you will know what to change next—travel feel, sound pitch, or actuation weight.
CTA (Practical Next Step): If you want a low-risk first build, contact GATERON for a beginner switch recommendation based on your board type (hot-swap or solder) and your target feel (smooth, crisp, or quiet).
5) The Build Order That Saves Time: Test, Tune, Then Final Assembly
This is the core of the Custom Keyboard Build Tutorial: the order that prevents the most common beginner setbacks.
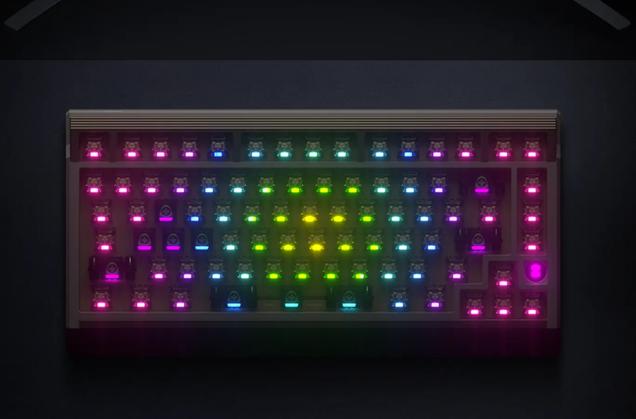
Step 1: Test-fit first
Before you install everything, confirm your plate, PCB, and case alignment. Check that standoffs and screws match the mounting style.
Step 2: Prepare stabilizers early
Most “bad sound” complaints come from stabilizers. If you tune them early, your final build feels premium even if you keep everything else simple.
✓ Make sure the wire is seated correctly
✓ Check for ticking by pressing each stabilized key repeatedly
✓ Fix issues now, before the PCB is fully mounted
Step 3: Install a few switches and do a quick typing test
Do not install all switches at once. Install a small group, add a few keycaps, and test. This confirms that pins align and hot-swap sockets are not being forced.
Step 4: Finish switch installation + final mounting
Once you confirm fit and function, install the rest of the switches. Apply even pressure when mounting the PCB into the case. Uneven mounting can create inconsistent sound across the keyboard.
Step 5: Final sound check and small tuning
Now you can decide whether you need foam, small dampening, or minor stabilizer adjustment. You are adjusting—not rescuing.
6) Beginner Mistakes to Avoid (And How to Get a Cleaner Result Fast)
A Custom Keyboard Build Tutorial is only useful if it helps you avoid predictable errors. Here are the most common ones we see:
✓ Bending switch pins by forcing insertion at an angle
✓ Skipping stabilizer checks until the end, then reopening the entire board
✓ Over-modding early and losing track of what improved sound
✓ Uneven screw tension that causes warping, ping, or inconsistent acoustics
The best beginner habit is to change one variable at a time. Build a clean “baseline keyboard” first. Then iterate. That is how enthusiasts get great results, and it is also how manufacturers validate improvements in real production.
CTA (Build With Less Trial And Error): If you are planning a first build and want the shortest path to a clean feel and sound, reach out to GATERON for switch selection support and build pairing suggestions. We can recommend switch types that match your plate style, typing goal, and tuning comfort level—so your first Custom Keyboard Build Tutorial ends with a keyboard you enjoy using every day.


